These days, you don't have to break the bank to create professional-looking productions. We talk to Chris Wissinger of Roland Professional A/V to learn about his ideal equipment arrangement for streaming.
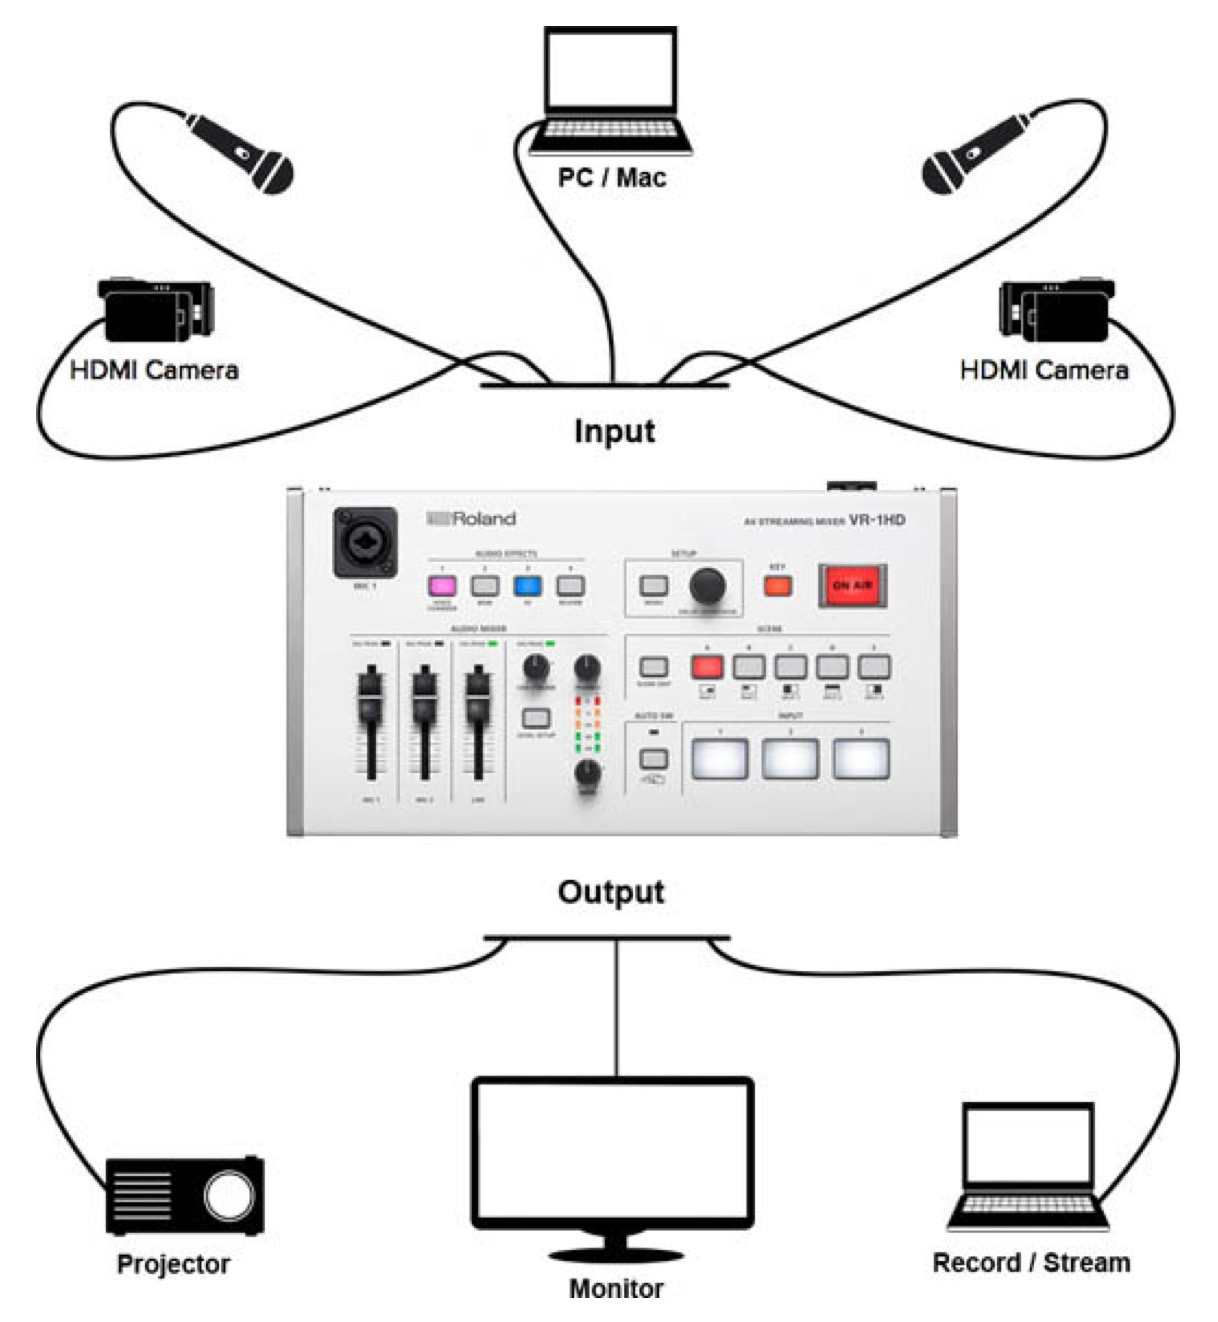
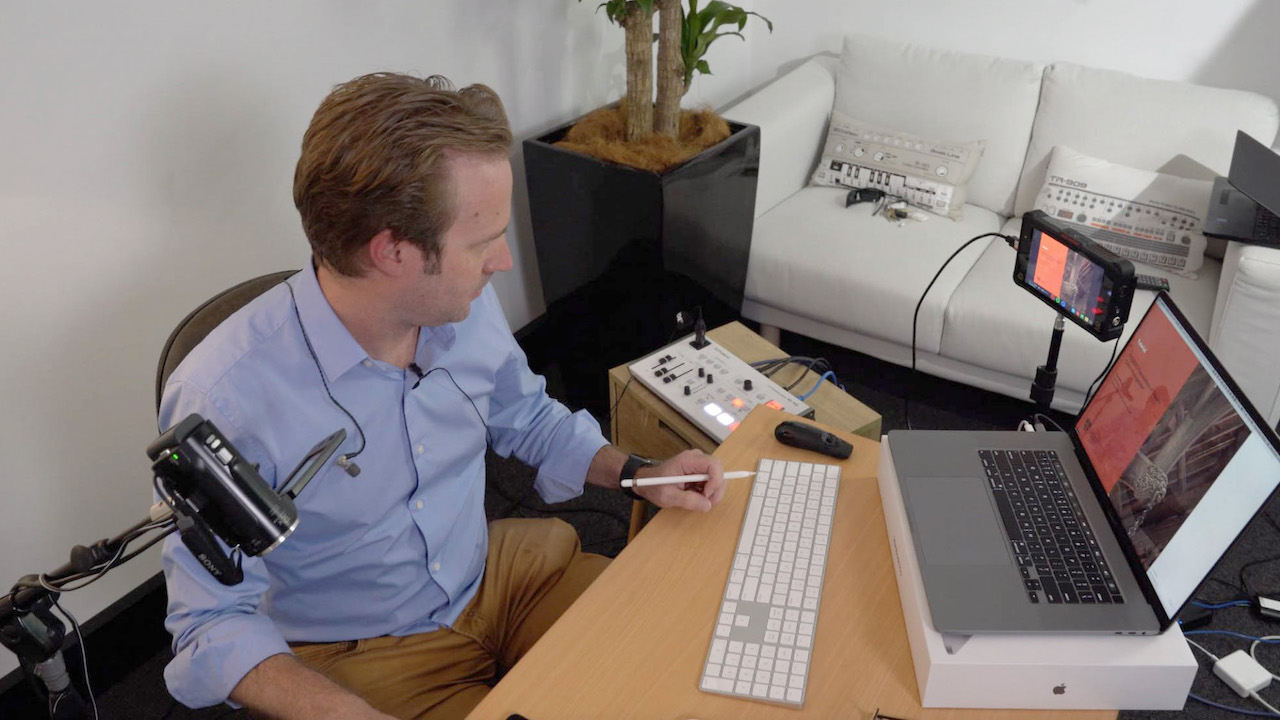
A solid streaming setup would have one or two cameras, two computers, a microphone, a small vision mixer with USB 3.0 streaming built in, and suitable lighting. “This may sound expensive and technically challenging,” Wissinger said. “I assure you it isn’t.”
[The Technology Manager's Guide to Streaming]
Wissinger shares his advice:
Two Cameras
You will be pleased to know that you don’t have to use expensive video cameras to create a quality stream for your classes. I have used HandyCams, Go Pros, and even smartphones, and they have all performed very well. The main advantage of using two cameras is that you are able to change the view for your audience. People are used to watching TV, which continually switches between camera shots. A typical scene would be to have a close-up (personal) camera, for when you are speaking to your class, and a wider view (slightly further away) so that the audience can see more of your environment. This is more important for some classes than others.
A Microphone
Poor audio is probably the most common downfall of beginner streamers. A clear voice that is easy to understand is key to keeping your audience engaged. I personally prefer lapel microphones, because they are very good for cutting out room noise and they deliver a consistent audio signal for your stream. They also allow you to move around without having to carry a microphone or adjust a mic on a stand.
Two Computers
You will need at least one computer to stream your content. You can use this same computer to share course content with your audience, but it is often the weakest link in an online performance. I prefer to have one laptop dedicated to streaming and a second laptop with a PowerPoint presentation, titles/logos, videos, and even music preloaded on it. This makes your presentation interesting and the transitions between information scenes seamless.
Lights
The lighting of your space is important to set the mood. This can be done with a simple overhead light and a lamp or two. The main thing is to test a few things beforehand to get it right. If you need more light you can easily purchase something suitable from the hardware store to get you started and then maybe look at other options further down the track.

A Vision Mixer
Now this is when things get interesting! A small vision mixer is the difference between an amateur-looking stream and a quality production. It’s like having a mini TV station at your fingertips. With a vision mixer, you can plug in multiple cameras, microphones, computers, laptops, smartphones, tablets, and media players (depending on the number of inputs available). They also come with great features like picture-in-picture, split screen, smooth transitions, and many other professional effects that will bring your presentation to life. Some vision mixers come with a USB 3.0 output, and that really simplifies streaming. All you need to do is take the USB output from the vision mixer and plug it straight into the USB input of your laptop or computer. You then open up the platform you want to stream on (Facebook, Zoom, etc.), and the vision mixer will come up as an optional camera source.

