A How-To Guide to Projection Mapping

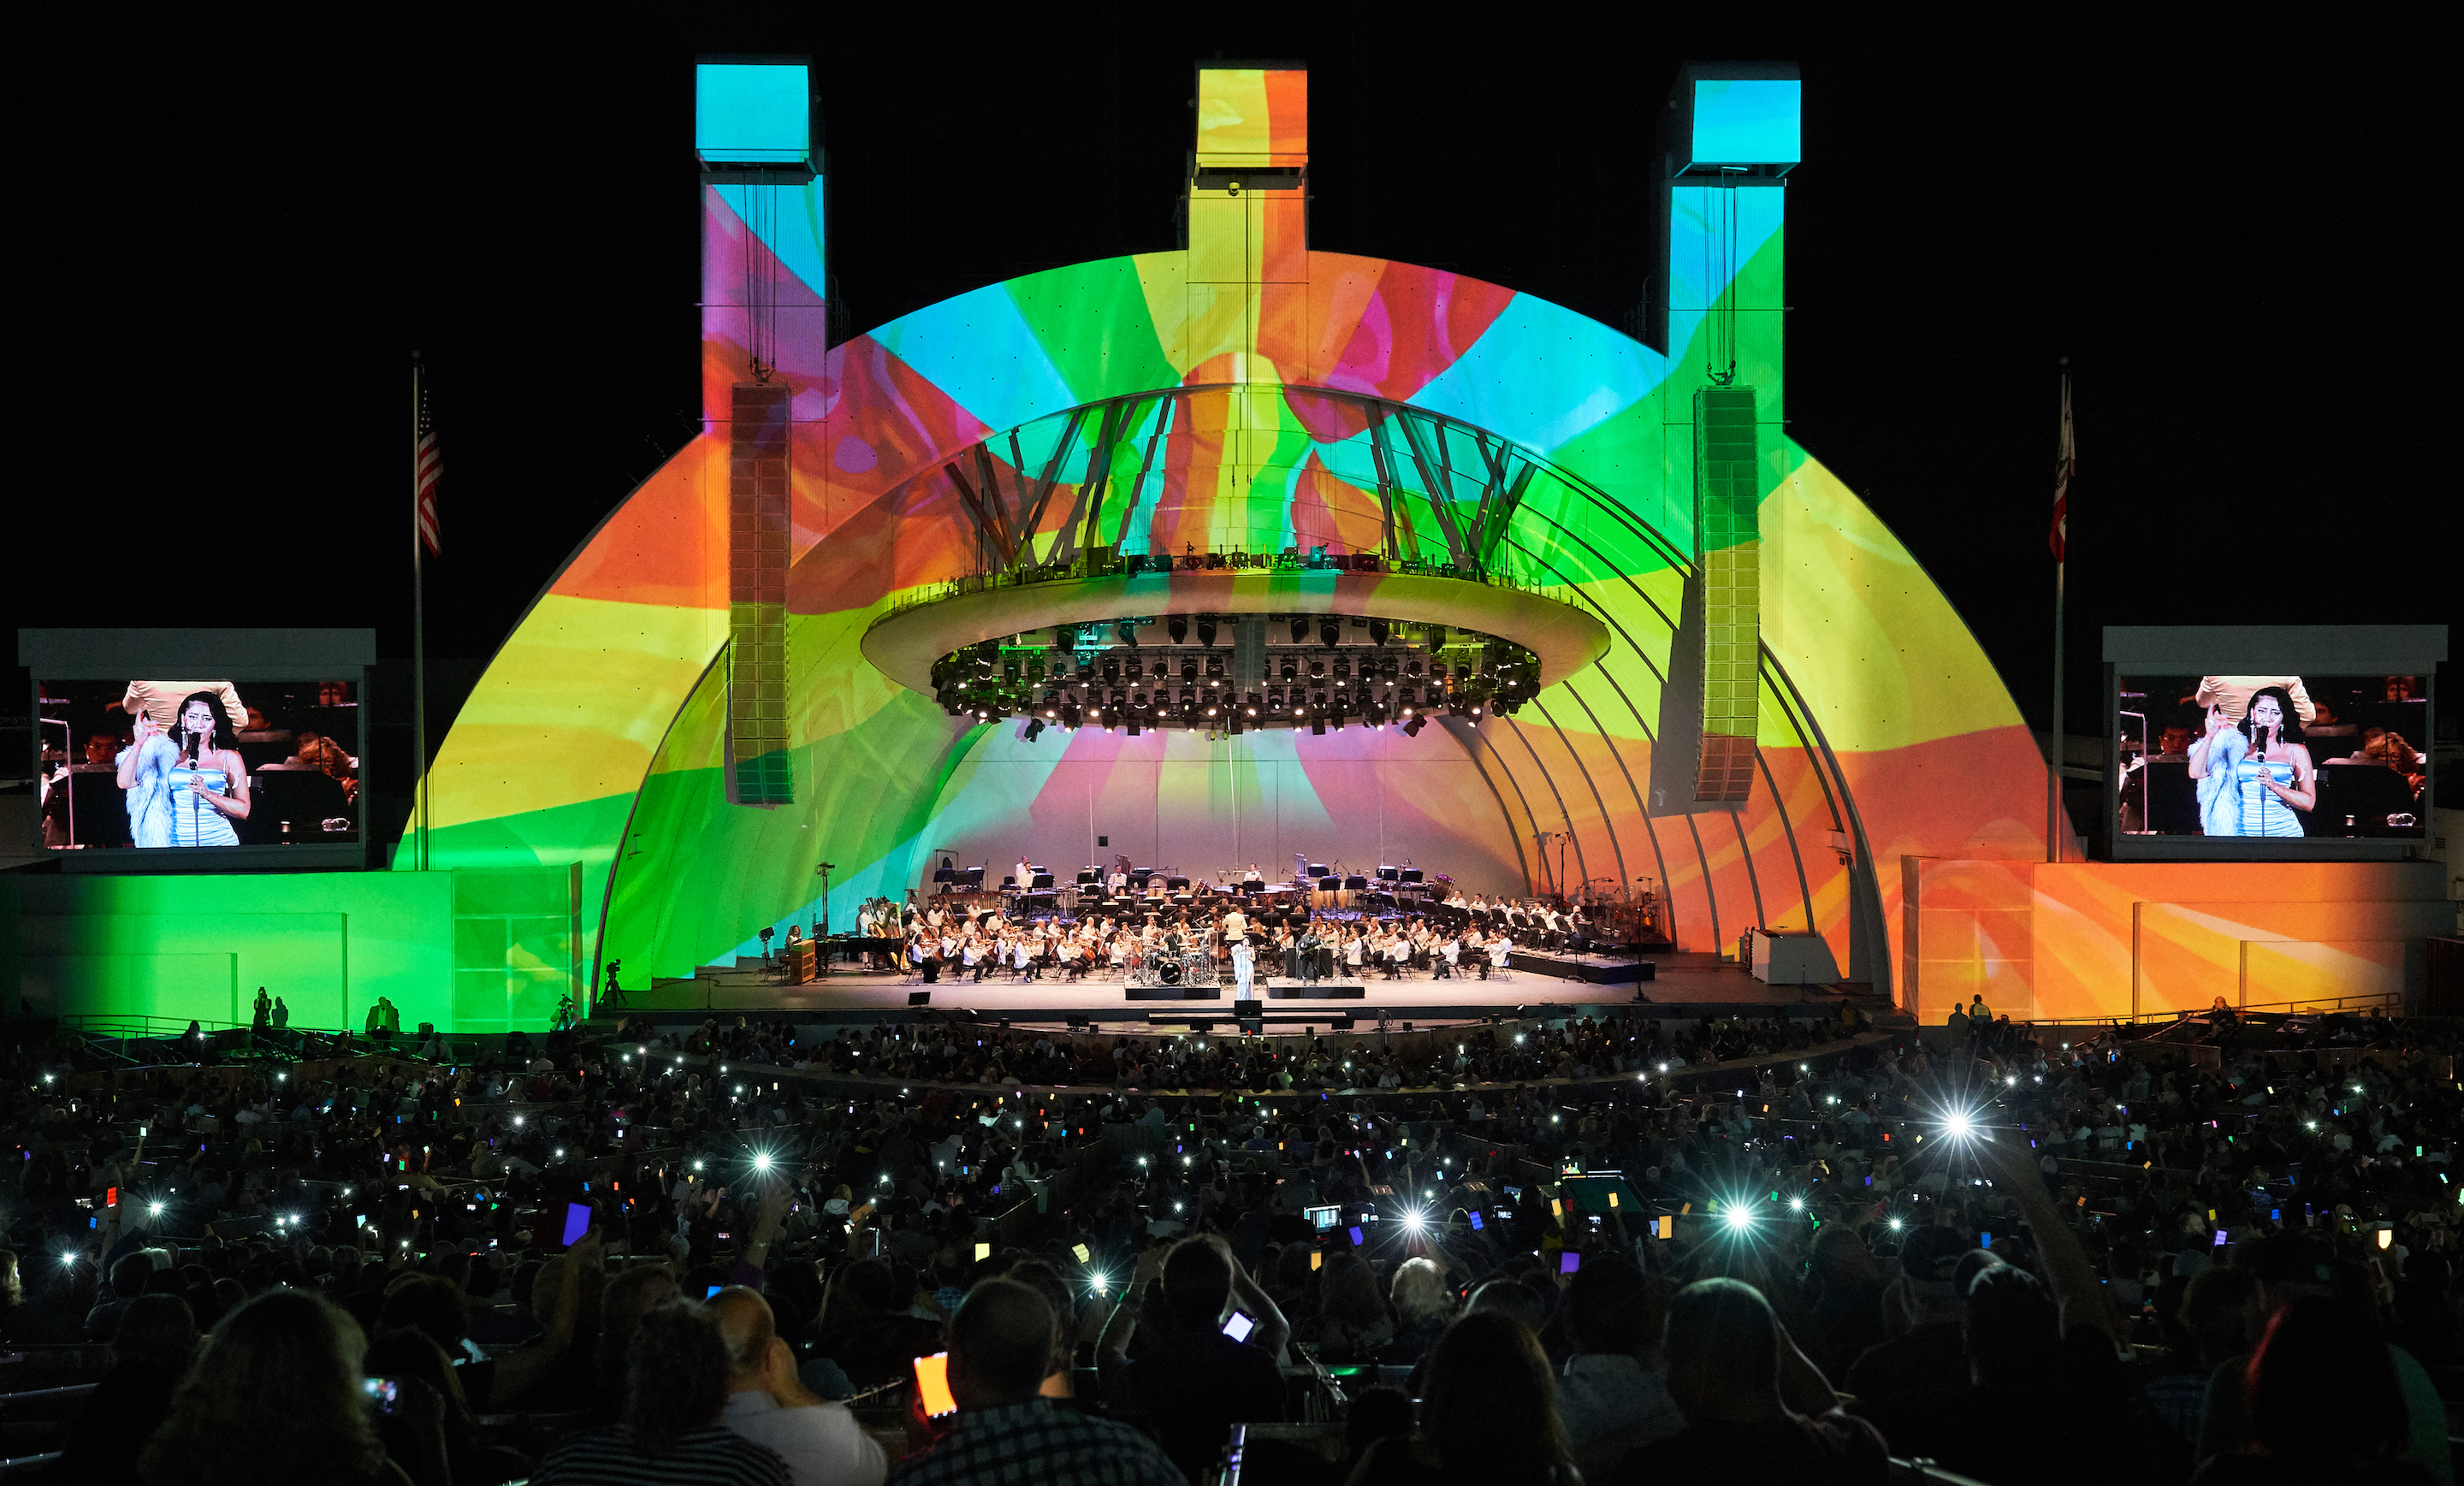
Projection mapping shows have become increasingly popular over the past few years, so we decided to dive in and help you understand a little bit about how they’re put together.
All projection mapping starts with a concept. It’s important when considering the concept to think about who the audience is, where they will be located, and most importantly, what object you want to projection map. Most often, this is a building, but it could also be a sculpture or a temporary structure. From there, 3D models of the projection mapped object are built. These 3D models will form the basis of the mapping, so it’s important that they are accurate: For complex geometry, a laser scan can be performed, which can give millimeter precision to the mapping.
Once a 3D model of the projection mapped object is complete, a process called UV mapping converts the object into a surface capable of receiving video, in software terms. The UV map comes between the 2D video file and the 3D geometry of the object: it defines which pixels will fall where on the object and is critical to modern projection mapping workflows.
When the UV mapping is complete, the 3D object file can be loaded into a projection simulation tool, such as the disguise Designer software. This tool enables the production team to simulate the position of the projectors and projection mapped object and see the behavior of the projection pixels on that setup. Advanced tools also include simulation of light level (luminosity) to enable photometric calculations to understand just how much light will be visible on the object during the projection show. At this point, projection designers can design the optimum projector setup, with choice of projector lenses and stacking configurations, to reach the desired outcome.
Now it’s time for content production. The projection design will influence the overall resolution of content required to hit the object and make it look good. Once this is known, content can be produced using the same UV mapped 3D file. There is a plethora of content production methods out there from analog stop-motion graphics all the way to real-time rendered effects using 3D content tools such as Notch. A good content house will know which tool to apply depending on the desired storyboard.
Whatever the content source is, you’ll also need a media server to play back the created content and manage onsite alignment and blending. Tools such as disguise have been built to support multiple editors working simultaneously on the same file, so while the content team works on updates in the 3D simulation engine, the technical delivery team on site can be carrying out a line up. The line up is the process of matching the virtual 3D model with the real world model, including moving the virtual projectors into place exactly as they have been rigged on site. This process is helped by such disguise tools as QuickCal and the new OmniCal calibration, which uses cameras to capture the projector setup in just a few clicks.
When you’re all set on site, it’s time to run the show—and of course reliability is key. High-profile shows often demand redundancy and a network of multiple servers, all working together to deliver the show. After all, the world is watching.
A daily selection of features, industry news, and analysis for tech managers. Sign up below.
Peter Kirkup is the technical solutions manager, EMEA at disguise.
